Recently I've moved my personal website across to a self-hosted Ghost installation - a professional publishing platform optimised for SEO and speed. Very quickly I realised I wanted a way to develop a custom theme for my site in isolation without having to worry about the Ghost installation or dummy content. I achieved this by doing the following:
Set-up Docker
Create a folder to hold your theme (ie. ghost-theme), cd into this directory and run the following command:
git clone --depth 1 https://github.com/TryGhost/Ghost.git dest
cd dest
git filter-branch --prune-empty --subdirectory-filter content HEAD
This copies the ghost content folder from their git repository down into our dest folder. Next we want to set-up our ghost docker image (we'll be using the official ghost image), this will act as our server and run Ghost for us.
docker run --name ghost-theme-dev -p 8080:2368 -v C:\Code\ghost-theme\dest\:/var/lib/ghost -d ghost
We're creating a new docker container on our local machine called ghost-theme-dev, assigning the external port to 8080, then mounting the content folder we downloaded earlier into the /var/lib/ghost volume on the container. Nb. we are specifying the absolute file path C:\Code\ghost-theme\dest\, this will probably be different for you. Finally running the container in the background with the -d command and specifying the image to be used ghost.
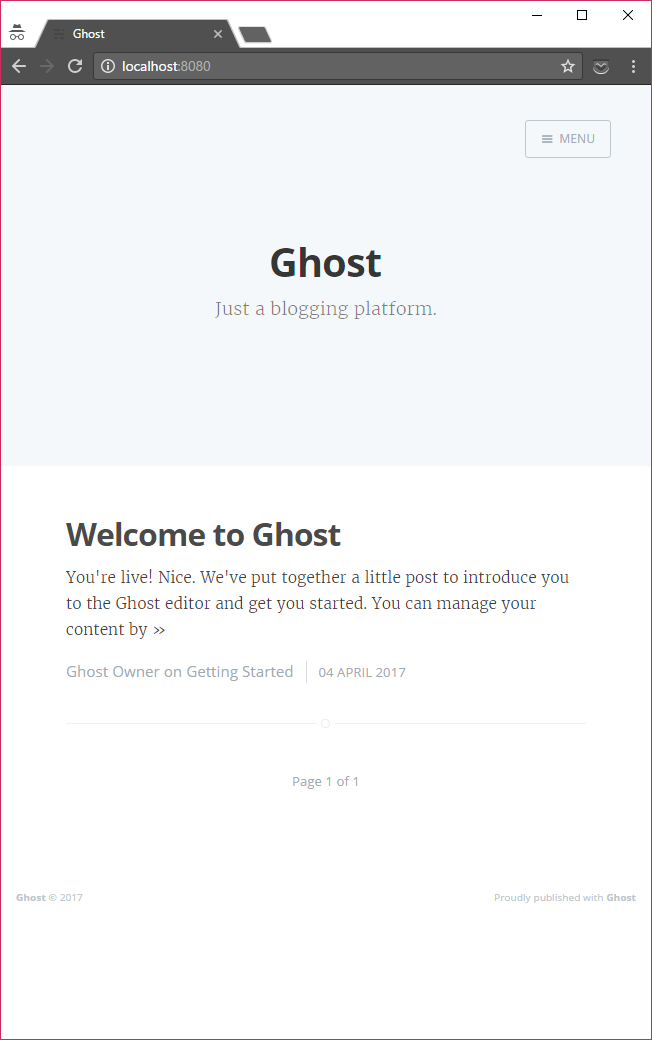
Open up your browser and navigate to your locally running ghost-theme-dev container on localhost:8080. You should be greeted by a beautiful default running instance of ghost!
Configure dummy Ghost content
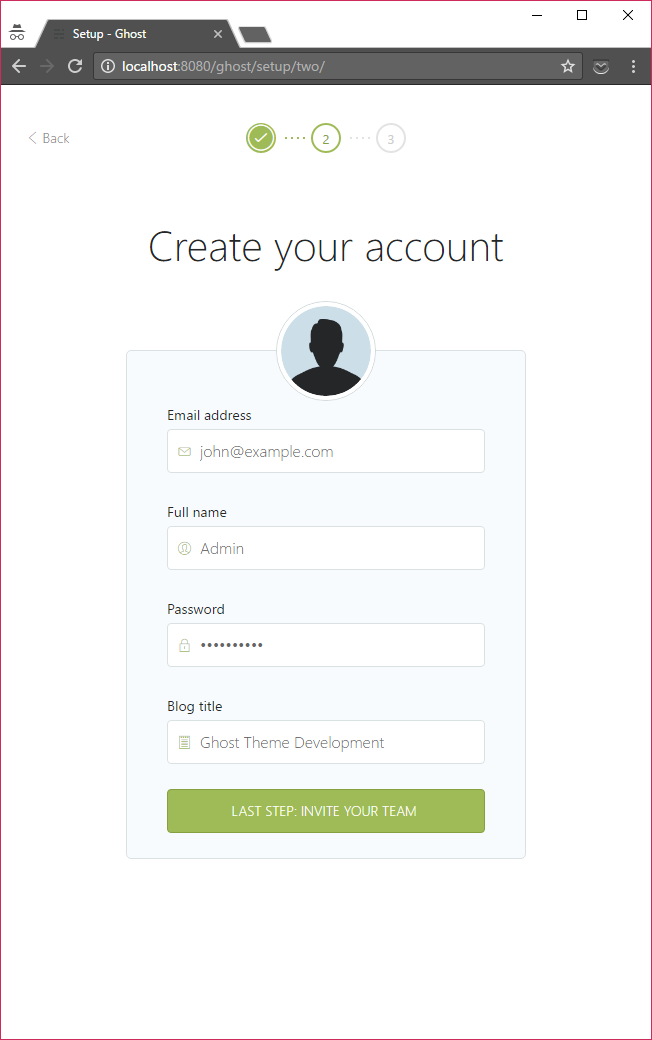
Head over to localhost:8080/ghost and set-up an account.
I personally like to work with some dummy data when developing a website, and fortunately for us we can use a ported version of the Wordpress Theme Unit Test data which can be found at https://github.com/nickisnoble/ghost-theme-unit-test. To install this data onto your container do the following:
- Go to the labs section of your Ghost installation settings (
localhost:8080/ghost/settings/labs/) - Delete existing data by clicking the red "Delete" button
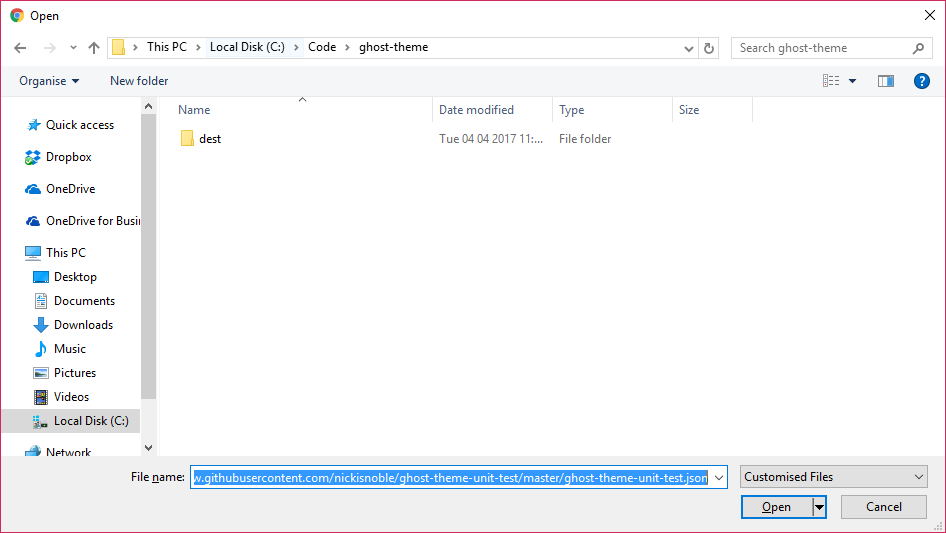
- Click upload and paste the direct raw url for the JSON into the "file name" box:
https://raw.githubusercontent.com/nickisnoble/ghost-theme-unit-test/master/ghost-theme-unit-test.json, click open then Import (alternatively download the JSON file to your local machine, then upload)
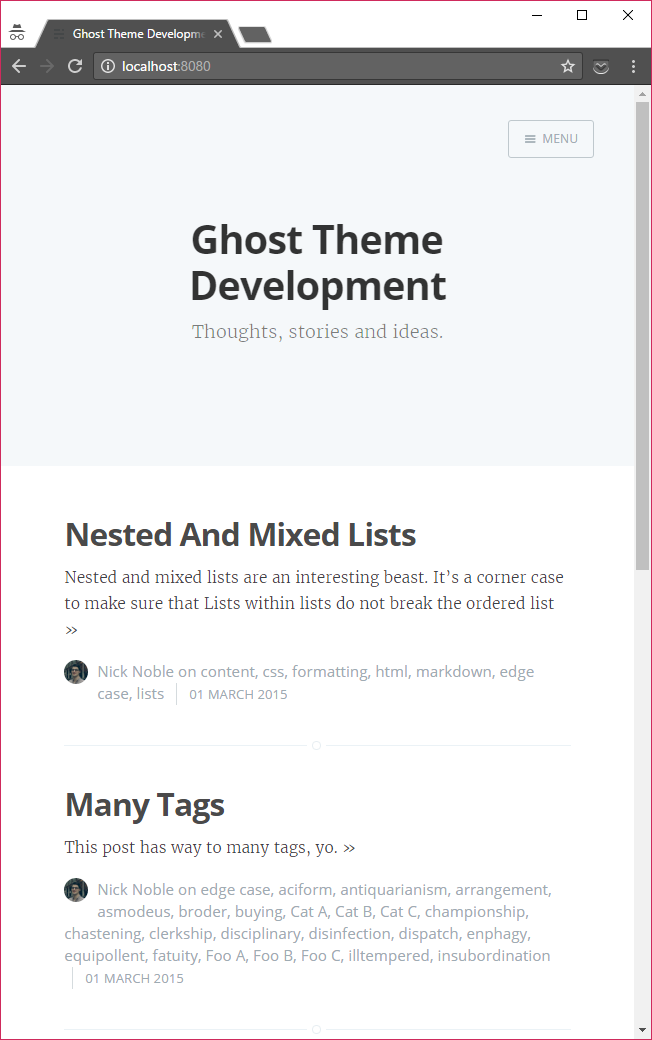
Now if you navigate to localhost:8080 you should see a whole bunch of dummy posts.
Theme build pipeline
Now for the nitty gritty. For this example we're going to grab the Casper theme as the basis of our theme. Navigate back to the root of your theme development folder (ie. 'ghost-theme'), and run the following commands to download the Casper theme into a src folder.
git clone --depth=1 --branch=master https://github.com/TryGhost/Casper.git src
cd src
Remove-Item .\.git\ -Force -Recurse
Update the ~/src/package.json with a new name (for example "ghost-theme"). Then navigate to the root of your application, and run the following commands to create a new ~/package.json, and install the npm packages gulp and gulp-watch before finally adding a gulpfile.js to manage our build pipeline.
New-Item package.json -Type File -Value "{}"
npm install --save-dev gulp
npm install --save-dev gulp-watch
New-Item gulpfile.js -Type File
Now we want to set-up a task in the ~/gulpfile.js that watches for file changes under ~/src and moves them into the correct location in the content folder ~/dest/themes/ghost-theme:
var gulp = require('gulp'),
    watch = require('gulp-watch');

var source = './src',
    destination = './dest/themes/ghost-theme';

gulp.task('watch', function() {
  gulp.src(source + '/**/*', {base: source})
    .pipe(watch(source, {base: source}))
    .pipe(gulp.dest(destination));
});
If you now run this task, all the files will be copied across to ~/dest/themes/ghost-theme:
gulp watch
Try updating ~/src/index.hbs and you will see the udpated file copied across to ~/dest/themes/ghost-theme/index.hbs. Feel free to extend thes watch task with additional gulpy goodness such as css preprocessors, image compressors...etc.
Finally we need to select our newly created theme, to do this we first need to restart the docker container by running the following command (we only need to do this once to make the theme appear):
docker restart ghost-theme-dev
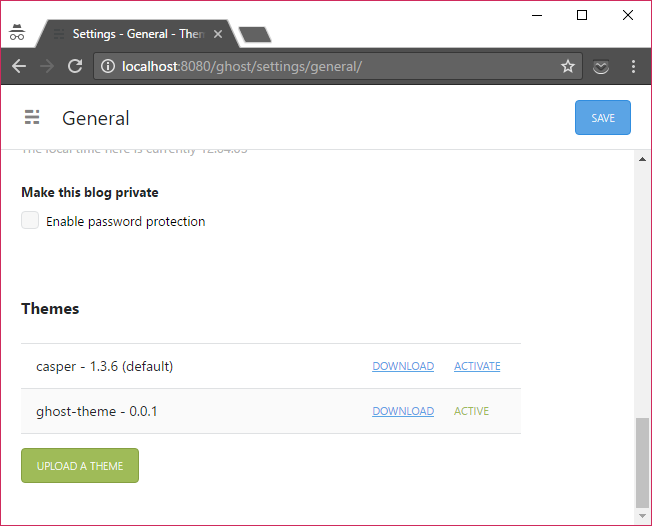
Then navigating to the general settings page at http://localhost:8080/ghost/settings/general/, you should now see our newly created theme under the Themes section. Click activate.
Navigate back to your development blog index localhost:8080 and all being well, you should see the change you made to the index.hbs file earlier.
Theme package pipeline
You can now develop to your hearts content on the files under the ~/src directory and see the changes on localhost:8080 as you go. But, what happens when you are happy with your new theme and want to deploy this to your live site?
We want to install a new npm package gulp-zip, so run the following:
npm install --save-dev gulp-zip
Then update your ~/gulpfile.js:
var gulp = require('gulp'),
    watch = require('gulp-watch'),
    zip = require('gulp-zip');

var source = './src',
    destination = './dest/themes/ghost-theme',
    distribution = './dist';

gulp.task('package', function()
{
    gulp.src(source + '/**/*', {base: source})
        .pipe(zip('archive.zip'))
        .pipe(gulp.dest(distribution));
});

gulp.task('watch', function() {
  gulp.src(source + '/**/*', {base: source})
    .pipe(watch(source, {base: source}))
    .pipe(gulp.dest(destination));
});
Now if you run the new gulp task, a new file will be created ~/dist/archive.zip
gulp package
You can now upload this file to your live running website, navigate to www.mysuperawesomewebsite.com/ghost/settings/general/ (substituting your own domain as applicable), and click on the button "Upload a Theme". Voilá, your new theme is deployed.